


IN THE FIELD WITH JOE SIMON
A breakdown of the shoot by Joe Simon
Pre-Production
There’s a few different thought processes that happen after I’m approached by a client for a potential shoot. Is this the kind of work we want to do? Is this the kind of shoot we want to do? Is this something we are into? Because if we’re not into it, it’s not going to be 100% of what we could accomplish. Once we’re on board we ask, How are we going to create a film that’s really going to do what the client wants it to do. How can we ensure a return on their investment. Then we brainstorm concepts and once we have the concept figured out we delve deeper into pre-production with storyboarding, scripts, and shot lists. Then we move into figuring out what gear we need to pull it off and how many people we need on the crew.
There’s a lot that goes into it. So pre production is a very time consuming process but it can really make or break a production. For this shoot in particular it was a mini-documentary so we didn’t have a ton of time to prepare beforehand.
He sent some photos over beforehand so we could see what kind of spaces we were working with to help me prepare for the lighting. I also made some notes about what I wanted to do with art design and laying out some different items on the table to create some foreground elements. As well as figuring out some very specific shots I wanted to pull off.
When we got there the first thing we did was a walk through before we unloaded any gear to get a better idea of what we were working with.


Location Shots
To do some exterior location shots we used a few different tools. We used the Movi to do some filming with Gerry and his family walking around the property, feeding fish etc. These shots were on the fly while they were doing what they do. We also had the DJI Phantom 2 out there with the 3 axis gimbal to get some aerial shots to help establish the geography and the country setting.
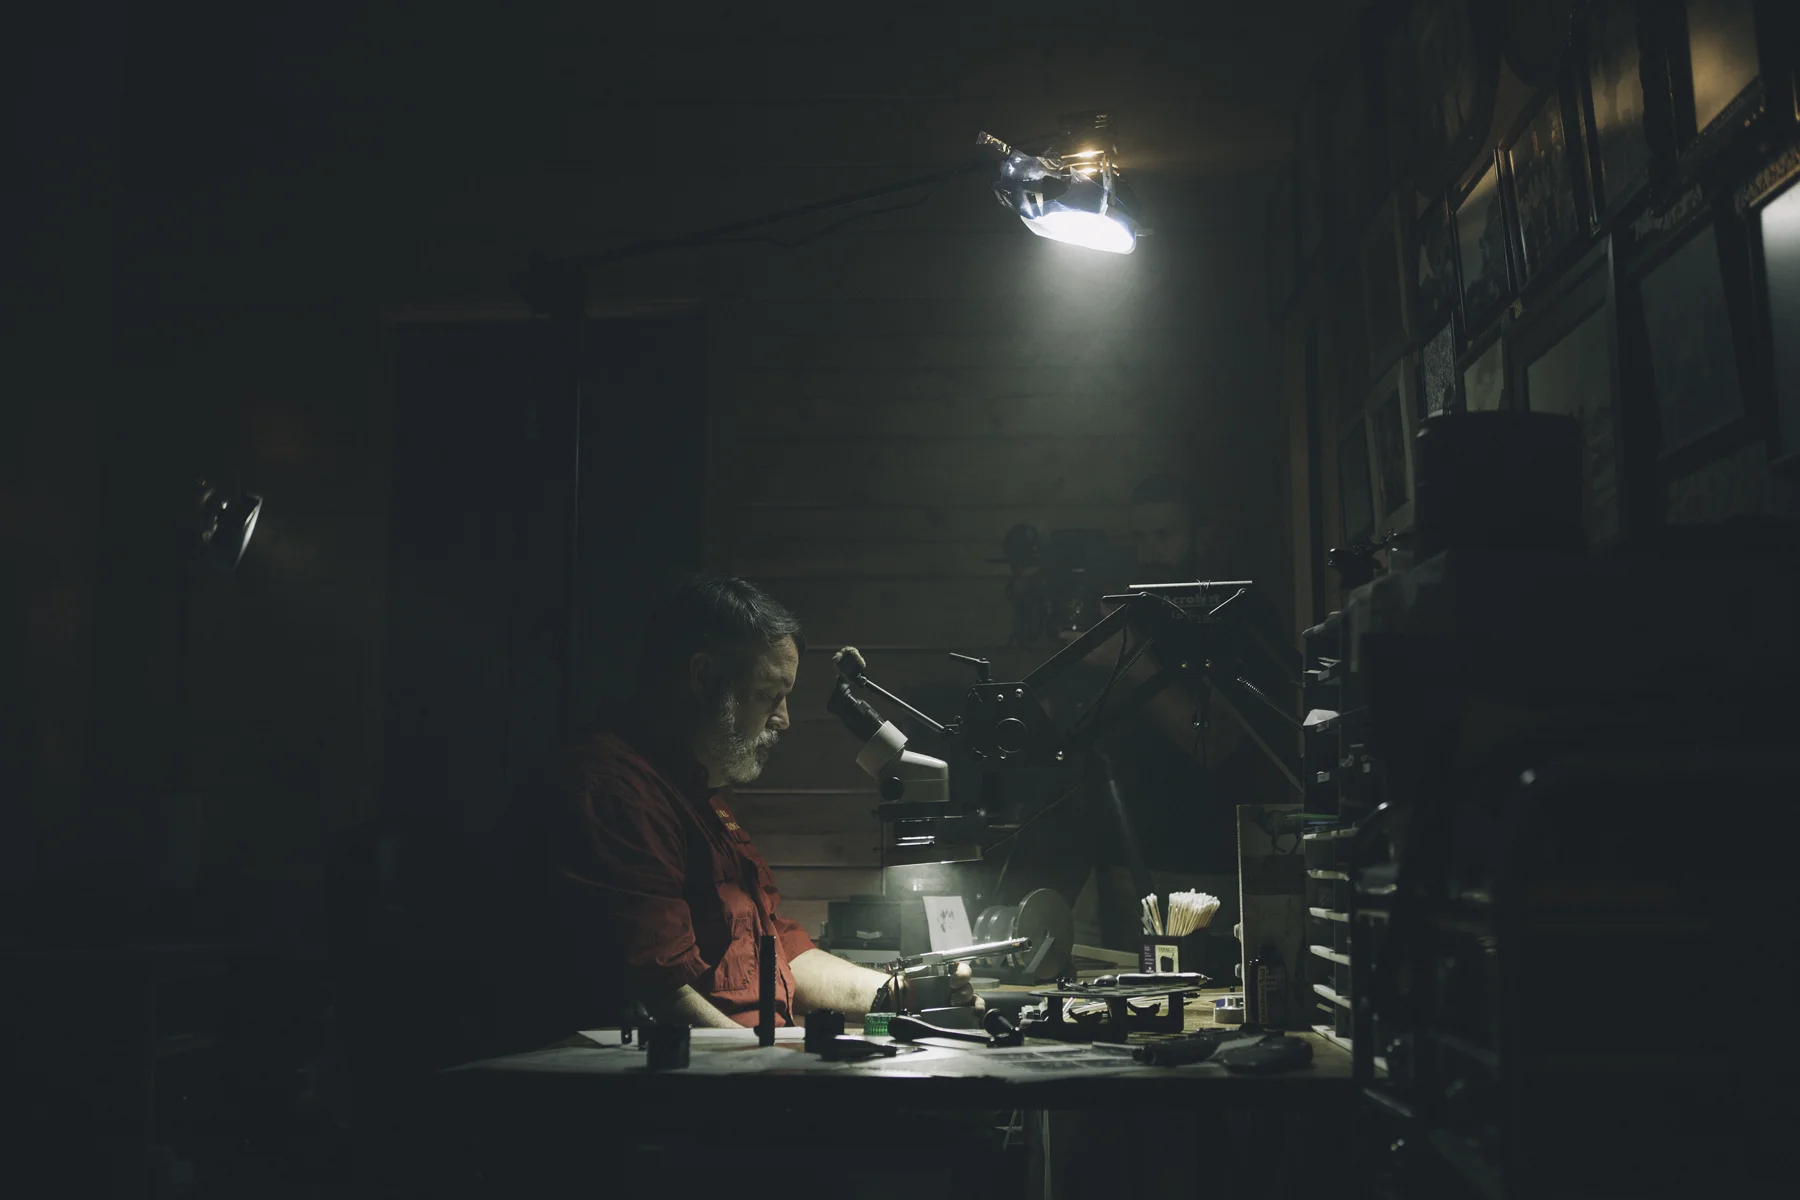
Lighting
The first room we went into had his desk that he worked from and his engraving tools and a scope that would go down and it had a really bright light on there. The first thing I noticed was that it was daylight balanced light coming off of his scope and it was extremely bright. There was a window facing west that had some natural light coming in but I just didn’t like the feel of it. So we took some extra large black construction trash bags and we taped those over the window. I had a large duvet backdrop that we could have used but it’s a lot heavier and trying to rig that on someone’s house isn’t always the easiest situation. The goal was to blackout the room and start lighting from that point. I wanted to replicate a light over him so we threw up a C-Stand with a 200 w Lowel Pro light and we put a gel on that to daylight balance it and then also put some diffusion on there. That pretty much gave us a nice light for the room. When he was working the light from his scope light up his work area pretty well and there was some bounce from the gun coming back up onto his face. We used a few LED’s in the back to do some wall lighting and to accentuate certain areas like the record player as well as the safes when were shooting from the other side. So basically a little background lighting to keep it looking natural and making sure the lighting was motivated. We also brought in a hazer to create more depth within that space. It created the illusion that you could “see” the air in front of you instead of it just being one single plane as it would have been.

The Camera Packages
C300
The C300 is kind of my go to camera for everything. The reasons I like it are:
1) It’s compact and small so it’s easy to get into any configuration quickly.
2) It doesn’t take up a ton of media space so I was able to shoot on CF cards and it has a decent codec so I’m not tied up dealing with complicated post processing situations.
3) It shoots in C-Log so I have a great dynamic range. I like the image. It allows me in post to push the color grade however I want that to go.
I really feel like you can shoot on a RED, or an F55, or an Alexa as long as you are in log mode and you light it well you’re going to end up with a comparable image.
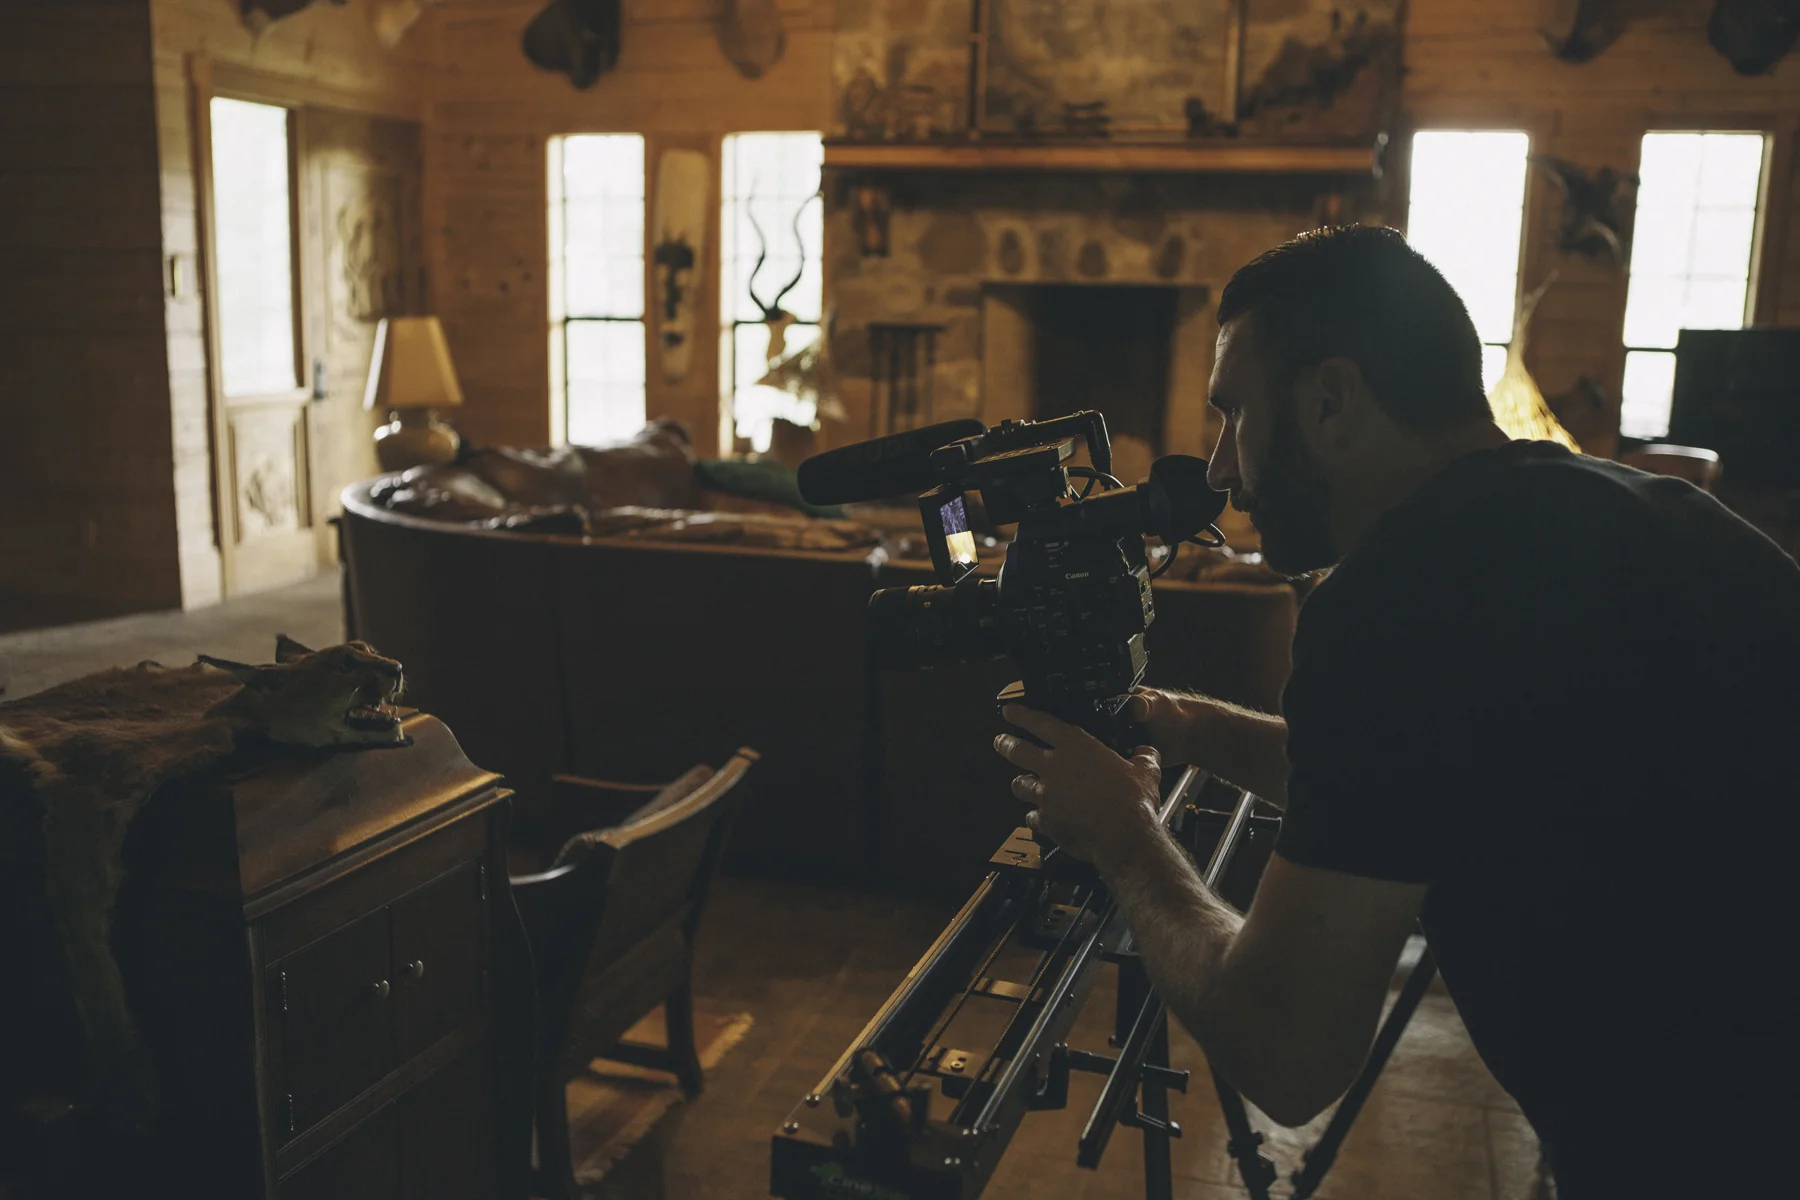
C100
With my C100 I have the auto focus upgrade on there. So in the first room we used that camera when we were shooting him with the Kessler Pocket Jib and Rev 2. We were able to get some really dynamic movement with that combo we were able to start in real close to the gun and then push up as well as also boom in and out while rotating the camera for an added effect. We were really excited about how those shots came out.

Timelapse
We also shot in a second area of his house, in the drawing room, where he sketches the designs before he actually engraves the gun. In that room we did a timelapse with the Second Shooterwith the Parallax. We used the 5D MK3 with a pretty close focus and we push along and pan while he is drawing the design. It was a great way to cinematically illustrate the time consuming nature of his design process.


