


A PLACE CALLED HOME – GEAR BREAKDOWN
Packing for trips is extremely challenging and takes years of experience to perfect. I am continually learning with every trip I take and always trying to make the process easier. In the post below, I walk through the kit that I took with me to Cuba to shoot the film, A Place to Call Home. I will also dig a little bit deeper into the process as well and give a few tips for packing when traveling.
One of the challenges you need to deal with when you are traveling is how to protect your equipment. In the next section, you will find out a few different ways in which you can approach keeping them safe from both damage and theft.
Travel Cases
A great way to keep your equipment safe is by using hard travel cases. Most of my equipment is kept in Pelican cases while at home as they protect against the harshness of the film environment and can withstand the wear and tear that occurs when traveling. I highly recommend purchasing cases that have the wheels built in.
However, the more I travel, the more I have been moving away from the hard cases. They weigh more than soft cases and also raise red flags when traveling. I have yet to have any gear damaged in the soft cases and have found that they are a lot easier to travel with. I still do use hard cases but if I am able to roll with just soft cases, that is my preferred method. For the trip to Cuba, I used soft cases.

One tip when checking your luggage is to present a media pass. These cards will usually get you a reduced rate on excessive and overweight bags as well as offer you a few other perks.
Weight is always a challenge so carefully managing this weight beforehand and researching how to keep the costs down is critical as each airline has different regulations and costs for oversized / overweight / extra bags.
Carry-on
When I travel, I always have my drives/media and cameras with me as a carry on. I do this for two reasons. First off, it ensures both stay safe and in perfect working order. The second reason is that if my luggage gets lost, I am still able to perform the job I was hired to do. Typically, it is a lot easier to find support gear than it is a specific camera/lens/media/etc.
My carry-on bag is generally a lot overweight and I have yet to run into any issues with the carry-on bag. I am currently using the F-Stop Tilopa BC.
Wrap in Clothes
One of the main things you need to worry about is how you pack your gear. It is extremely critical you carefully pack your gear when using soft cases. I will wrap my support gear in my clothes and then place strategically in my suitcase. One of the advantages of going this route is that it conceals your equipment so people are less tempted to steal it while also protecting it.
Gear List / Insurance
The most important thing you will want to do if you own gear is get insurance. When looking for policy packages, look for ones that cover accidental damages and theft as it will save you. It’s not IF, it’s WHEN. Make sure to also prepare a gear list for each of your bags and use something like google drive to save your list to. I will also print the list and leave it in each of the bags that are sent.
When traveling, I also highly recommend buying locks for your cases (the ones that have the ability to be opened by airport security officers). I have never ran into issues when I haven’t used them but it is another step you can take to ensure your gear stays safe.
What I have found when traveling with gear is the inconsistencies in airport security officers and standards at airports. When carrying your camera gear on board, be prepared to take all the items out of the bag and send through the scanners individually as I have been asked to do this on occasion. It doesn’t always happen but depending on how full your bag is, it could happen. It is extremely frustrating but a reality when you are traveling with gear.
There are a few things you will want to also make sure to do before traveling as well:
- Check Your Gear: Before traveling with your gear, make sure it is in perfect working order, the lenses/sensors are clean and that you have all the accessories you need to operate the camera with you. If you are shooting with a DSLR, make sure to take your lenses off the body and pack safely. Typically when I travel with DSLR’s, I carry my cameras/lenses in the F-Stop Tilopa BC. Another option I have used is the Pelican 1510.
- Document all the Contents: Ensure that you have documented everything that you are taking with you. Typically, I keep sheets in all cases including a list of the contents and a master list as well. By doing this, you are able to keep kits together. They are also great references when you have others that are packing up gear for you.
- Proof of Purchase: When you are traveling between countries, make sure that all equipment that looks new has proof of purchase documents. Another option is to get a Carnet. This is important for when you both enter a country and come home from a trip. It makes the process much simpler if the security officers know you are prepared and are not trying to hide anything from them.
- Prepare for Back-ups: When I am out shooting away from home, I find myself changing out cards on a more regular basis. You never know if you will either lose your camera, damage it or have it stolen. Make sure to switch cards on a regular basis. Further to this, you will want to make sure to create back-ups of all your work. Depending on the job, sometimes I find myself mailing drives home and carrying the back-up with me on the plane.
No matter how prepared you are, there is still a chance that your luggage will get lost and I am sure that this has happened to virtually everyone that has traveled with luggage/gear. It is the nature of the beast and when this does happen to you, you learn quick what gear you SHOULD have had with you.

Obstacles to Overcome
POWER
Power is something you will need to consider when traveling. It is better to be safer than sorry if you are traveling outside of North America so I recommend traveling with power converters / plugs. Cuba is 110volts at most places but 220volts at luxury resorts. They had the same plugs as US / Canada but unfortunately my computer did not function at the Casa.
LUGGAGE
The cost of overweight and extra baggage was insane for this trip. We took Cayman Airways from Jamaica to Cuba. It was $125 for extra bag and $175 extra for bags between 70-100lbs.
How We Shot, A Place To Call Home
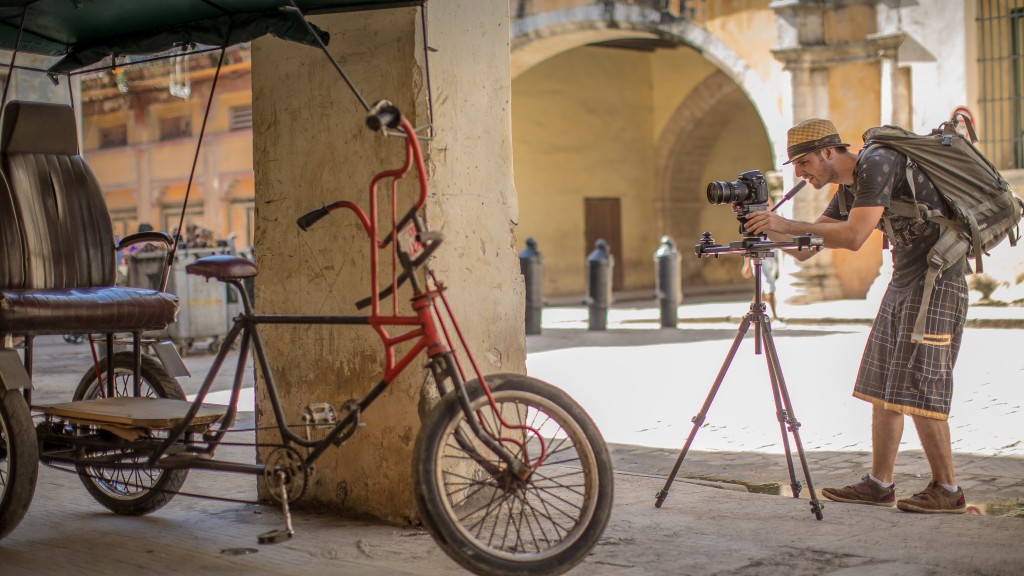
When approaching this film, we wanted to have as small of a kit as possible while also being able to produce polished looking sequences. Gear-wise, we took a hybrid approach and shot both Nikon and Canon. I shot with the Nikon D800 and Brent shot with the 5D Mark III. It was interesting to see in post how we were able to push each of the images and it was easy to see how much easier it was to push the images that came out of the D800. For support gear, we had the Kessler Pocket Jib Traveler, Kessler Stealth, HD4000 Glidecam and a monopod.
Case 1 weighed 68 lbs
Note: The kit I mentioned in the video was organized a bit different for the trip. I’ve attached an accurate list below.
In the main compartment, I had the HD4000 Glidecam, the Kessler Stealth Mini with flat mount adapter, a Manfrotto 190CXPRO tripod, the Lowell Blender light and Kessler Ion Battery, 2 pairs of jeans, 2 pairs of shorts, the Lenskirt, Audio Kit #1 (1 x Rode Lapel & Tascam DR100), dress shirt & pants for my brother’s wedding in Jamaica and the Manfrotto 128RC tripod head.
In the middle compartment, I had the Bose portable speaker, FSTOP traveler bag, the Thinktank retrospective 30 (not pictured in video) and the mili backpack.
In the top pocket I had underwear and socks and in the bottom pocket I had extra shoes, sandals, a multi-tool and hex key set.
Case 2 weighed 50 lbs
In the main compartment of bag two, we had the Kessler Pocket Jib Traveler, the Manfrotto 190XPROB(not pictured in video), Audio Kit #2 (1 x Rode Lapel & Zoom H4N), Manfrotto lightstand, 5 pairs of shorts, 5 t-shirts, 4 dress shirts, Kessler All Terrain Outrigger feel, a pair of jeans, sweater, and a polo.

In the middle compartment we had the bounce, 3 Kessler short plates, 3 low profile ball heads, 2 pairs of jeans, and 4 shirts.
In the top compartment we had 20 Clif Bars and a bunch of lifesavers. In the bottom pouch we had gaff tape, short sash, small zip ties, and the extra duffel bag.
Case 3 – Camera Backpack
The last bag I took with me was my carry on. In the carry on I had a Nikon D800E, Nikon D4, Nikon 24-70mm 2.8, Nikon 70-200mm 2.8, Nikon 24mm 1.4, Rode Videomic Pro, 6 x 32gb CF cards, 4 x 64gb CF cards, 3 x 1 TB Western Digital Drives, filter kit, 15″ Macbook Pro, IPAD, lens and sensor cleaning kit, 2 intervalometers, money clip, zip ties, gaff tape, and batteries / chargers.
The key item that wasn’t included in the video that I had as a carryon was the Guerillapod. I did this to ensure that I had some sort of way to stabilize my camera if my checked bags didn’t show up.
A Look at the Film
For this project, the biggest thing I was hoping to accomplish was to produce something that transcended my normal style of storytelling but still having a similar vibe to the piece. For the last few months, my focus has been on developing and refining this voice and finding a way that I can use it in a way to help others tell their stories.
I am learning and I am growing with each project I work on. With all of my work, the focus has always been on making films that make me happy and I will continue to push for this in the work I produce.
For the film itself, my goal was to address some of the elements we observed about the culture and craft a story around what we learned on our trip. I am extremely happy how it came out and hope you enjoy the story we are trying to share.

